

Membrane Switch Cure
By Mike Walters
www.mysterycircuits.com
mike@mysterycircuits.com
Part 3
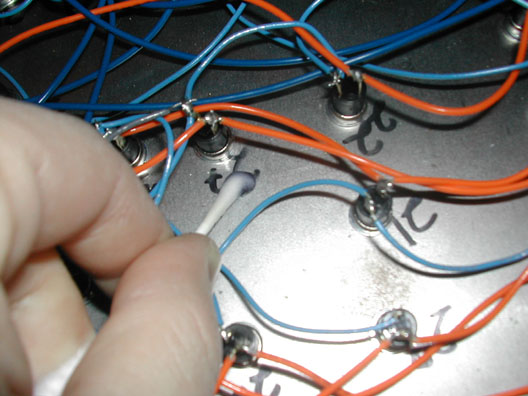
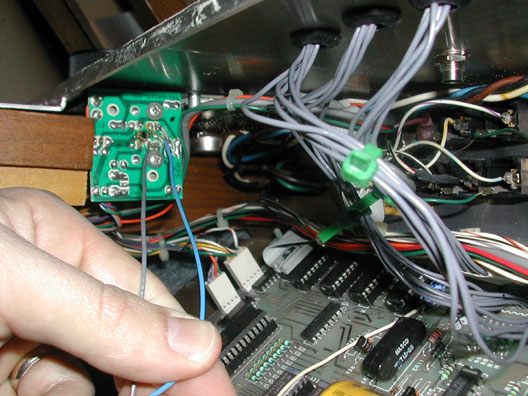
This is what happened... As I stated before, I had the pins wired backwards on wire array (Ribbon) number 3. I did get back to it one snowy day, and rewired it. Finally, things were looking better for me. It worked!!
***********
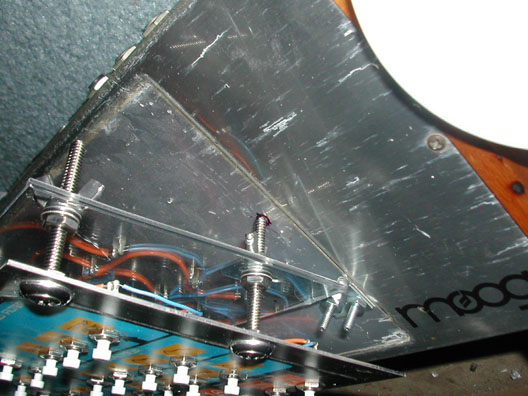
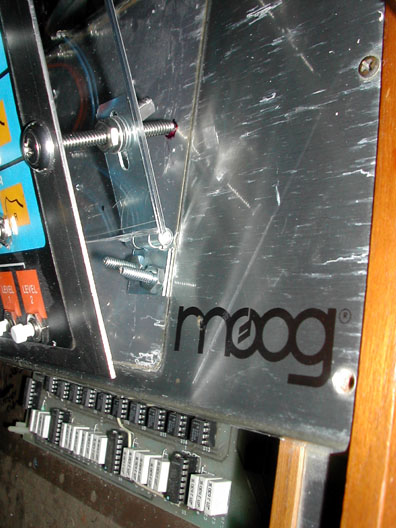
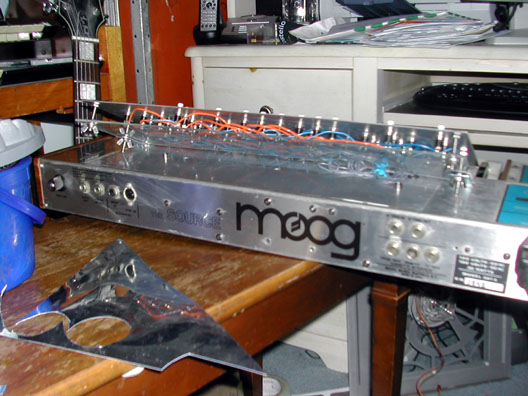
The first thing I did to finish the construction was to cut a piece of plexiglas about 1" narrower than the panel.
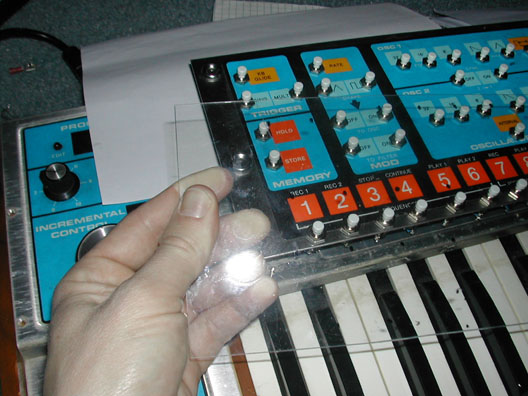
I drilled all the appropriate holes on both, and attached them with hardware...
But first, I cleaned off all the switch numbers with alcohol and a Q-tip brand q-tip...
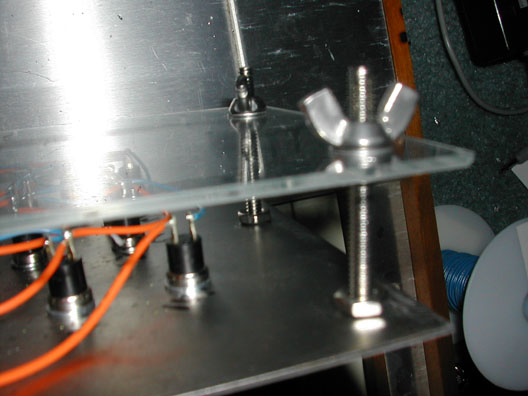
I attached the panel with a hinge to the synthesizer. The hinge attaches at the plexiglas between the washers to avoid tension. I also ran a thin strip of non-conductive (not pictured) mylar adhesive on the chassis right under the preset switches to avoid any chance of shorting, just to be safe. The chassis of The Source is aluminum coated in something, so it doesn't conduct. Unless it gets scratched!
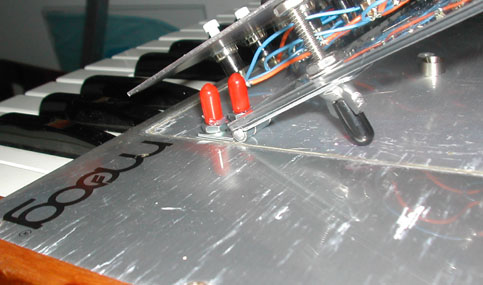
Later in the project, Julie and I discussed the possibility of adding lights under the panel. I ended up installing two blue LED's on the synthesizer to reflect light onto the plexiglas The result was subtle, but cool.
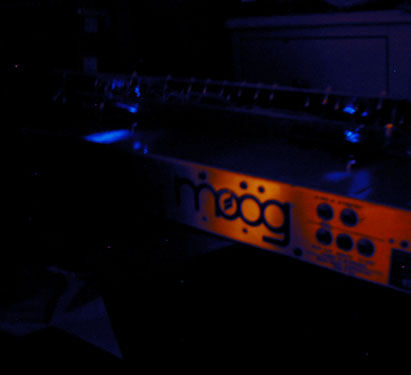
I simply wired 2 LED's in parallel, and soldered them to +4.7 V on the same PCB that has the LFO rate LED. This gave the constant current to the LED string whenever the power was on. You can also wire them parallel to the actual LFO rate LED, and it will cause the lights to blink. But I thought that might get annoying after awhile.
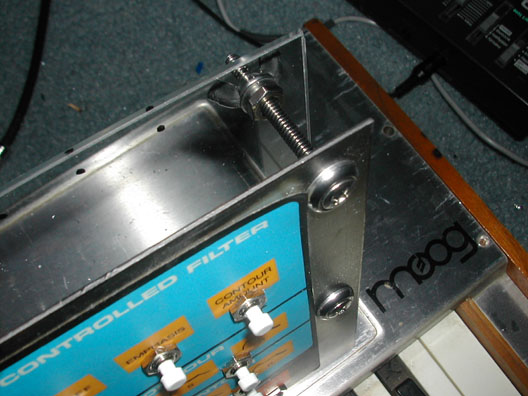
I put it all back together and WhooHoo, I was done!
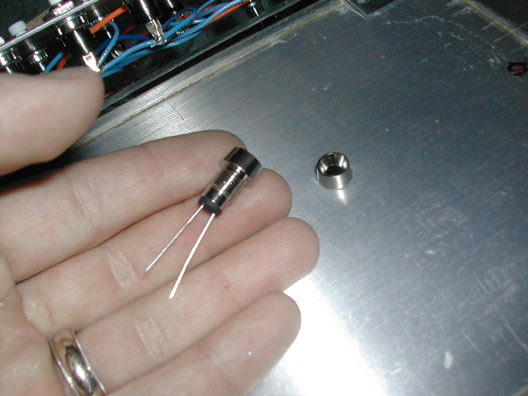
The final thing I did was install rubber end caps on the screws....
If you decide to try this project, let me know! I'd love to see other results, and see that people are using this data. Also, I'm not sure if there are multiple versions of The Source with different pin outs than this. Honestly, I hope there aren't. It might be wise to check the switches with the pins using a continuity tester before you start.
Go to Mystery Circuits to see my other projects!